The Unity Editor can be an unstable beast. Although you should always keep full project backups, it can also be a smart idea to avoid importing large asset packs directly if you don’t want to see just how creative it can get to ruin your day.
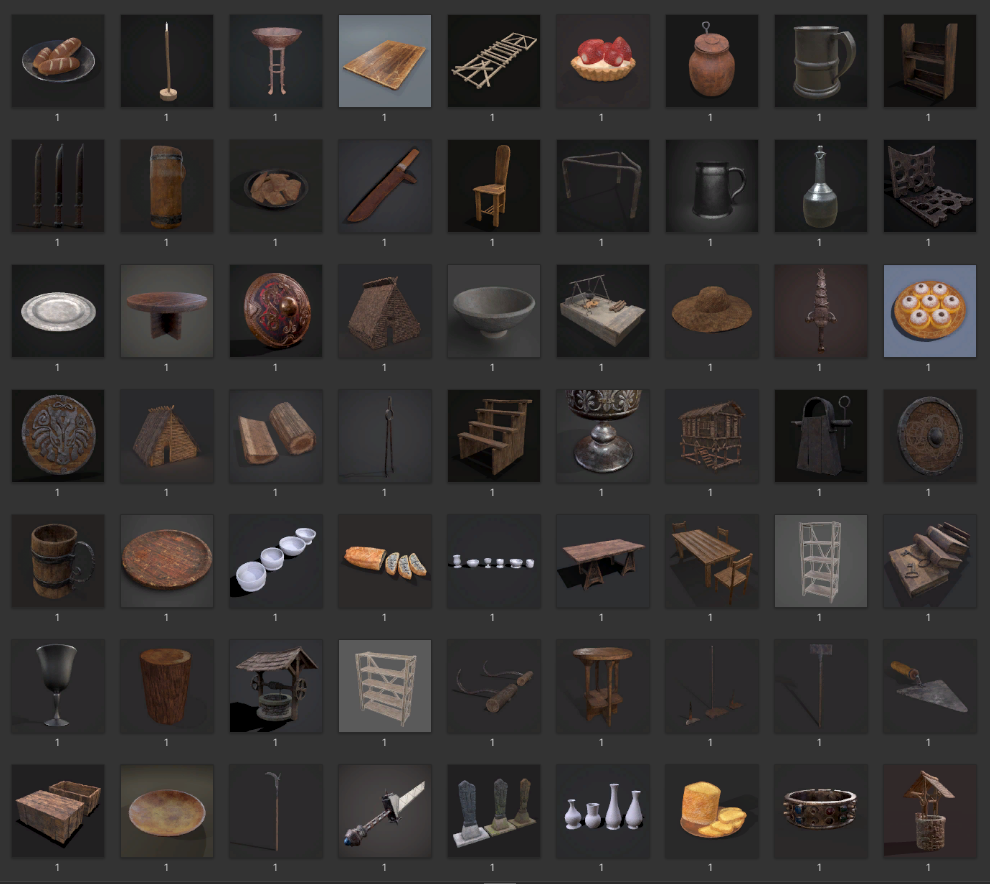
The reason I suggest this, is that a large asset likely includes whole scenes and profiles that you won’t need and you might only end up using a handful of the models or textures.
You could just cherry-pick which items you want from the import window, but what if you want to check out the entire content of the asset first or don’t know which parts you need?
Luckily, there is a friendly way to do a partial import indirectly (without doing lots of manual copy-pasting which can make a mess with the GUIDs). The basic gist is to import your new asset into a project specifically for testing assets, then after testing you select the pieces you need and export them as a brand new asset (which sounds scary and complicated, but actually isn’t). The rest of this article will take you through the steps for exporting your custom asset.
Steps
To get started use Ctrl + Click to select all of the folders or items you are interested in, from the Project Window. Once everything you want is selected, open the Assets menu at the top and choose Export Package…

When you click export package, all the selected items and sub-items (if you selected folders) will be displayed in a new window
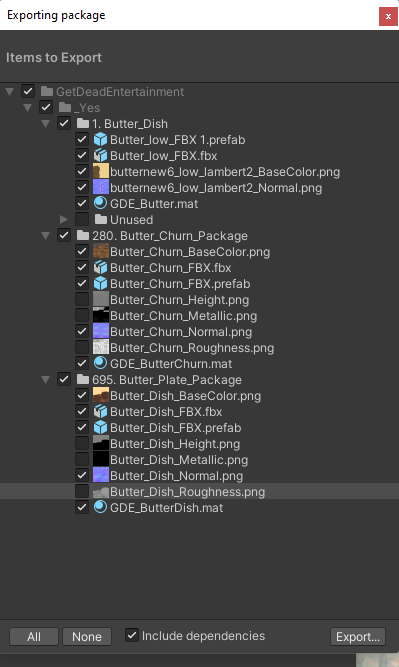
All you need to do now, is untick anything you don’t want exported. Keep Include dependencies ticked, so you will be warned if something is missing, then click Export…
After that you simply choose a new file name and location for your asset bundle, et voila!

One last benefit to note here – the unitypackage is compressed a little so does not take 100% of the disk space the assets do, making it a good way to store your collections if you don’t want to keep all of the original files on your machine
We hope this was helpful!

