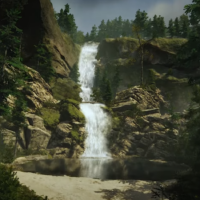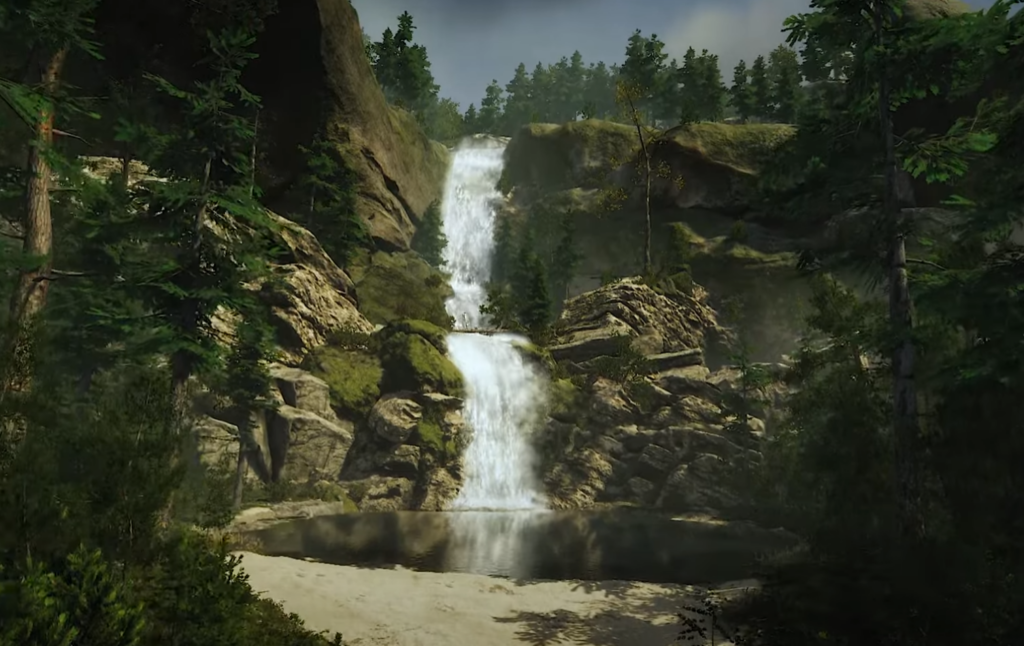
My first attempt at creating a waterfall didn’t look good
First attempts at waterfalls seem to be a common issue for developers. It’s really easy to create something “Just OK” – even just a single RAM spline (like below), but it’s very hard to create something great.
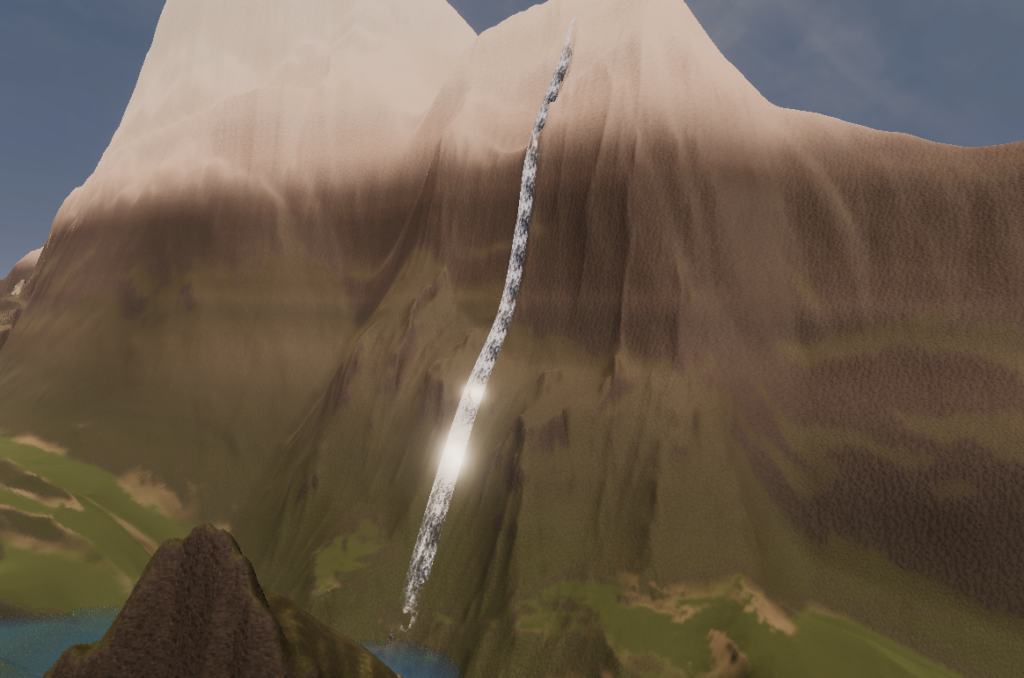
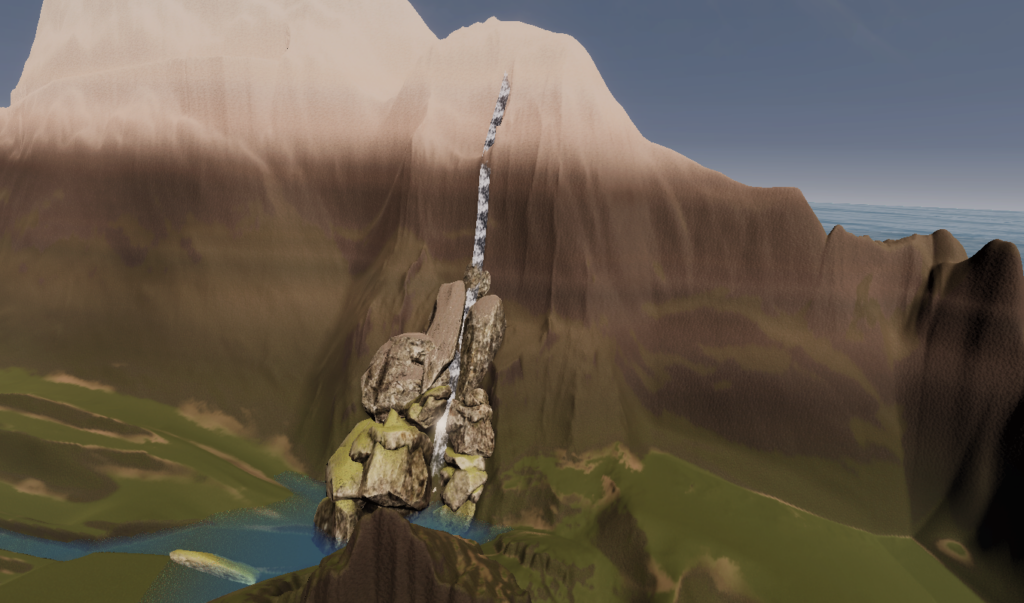
By the end of this article – after a lot of trial, error, research, and correction – we ended up with something beautiful. A lot of the inspiration came from youtube, in conjunction with our own experiments. Before that, were a lot of failures like the one pictured next.
The assets to use
Before I dive into it, here’s the list of Assets being used in this article (and in our game, Keep, which the screenshots are from). Also listed next are some Youtube videos which helped immeasurably.
- R.A.M 2019 by Nature Manufacture – This is the asset that we use for our river spline (also lava, roads, etc.). 2019 is the most recent version still and it’s really really good at what it does – even though I find the lack of undo for spline points incredibly frustrating.
- Mountain Environment by Nature Manufacture – This is the main asset we will use for some great high-quality Rocks and also includes some useful particles too.
- Crest Ocean System – This is our sea system and also allows us to create lakes and rivers which have a volume (and underwater effects and flow). We are using the HDRP version, but if you are using the Built-In render pipeline, you can even use Crest for free. Alternatively, the RAM spline asset also creates excellent lakes which add some movement.
- Forest Environment by Nature Manufacture – This pack has some more rocks and some good plants and litter
- YAPP by Rowlan – An excellent tool for scattering rocks and other prefabs. Rowlan has a lot of good tools, especially if you make use of MicroVerse (which is excellent)
- Landscape Ground Pack 2 by Nature Manufacture – This is the texture pack we use for the terrain layers
Other assets to consider
- Advanced Rock Pack 2.0 by Nature Manufacture – This pack has more great rocks which change their texturing in world space which helps with repetition. It has specific cliff pieces but I found them unuseful because of the attached ground cover and the fact they have no back faces which makes positioning them on uneven surfaces way too difficult.
- Ultimate Medieval Constructor by Aquarius Max has some very easy-to-use cliffs in various sizes and styles. I use them in many places in my scene, just not this particular waterfall. They are easy to use because they are all rock-only and some are large enough that no scaling is required.
5/8 of the assets above are by Nature Manufacture so I want to make it clear, we have no affiliation with them. These are the assets we use just because they are very good quality. If you’re lucky you’ll be able to pick up their packs in sales as they very often get featured. I can also attest to getting great support from those guys.
Inspiration to learn from
Trial and error alone can only get you so far. If you really want to improve your scene, I can recommend the following videos as great examples. Watching these videos at slow speeds is where I discovered most of the improvements I suggest in this article.
- Waterfall | Photorealistic | Speed Level Design | Unity | HDRP by Seta – Level Design – by far the most useful and beautiful example of waterfall design that I’ve seen. If you slow it down to 0.25x speed, you can see a lot of useful settings. It also has a Part 2 which covers adding the foliage to your scene.
- 18 Basic Tips That Improve Your Environment | Enviro Design | Speed Level Design | Unity | HDRP by Seta – Level Design – has general tips which can improve all parts of your scene design
- Mountain Environment – Dynamic Nature by Nature Manufacture – this is the demo video for one of the assets listed above. It does a great job of showcasing an extremely natural-looking lake along with all the stones, debris and foliage you would expect.
- Let’s… NatureManufacture Reflection Probes Tutorial by Nature Manufacture / Seta – A fantastic introduction to reflection probes, even if you’re not a novice.
- Realistic Lighting in Unity HDRP: Day | Step by Step Tutorial | Unity | HDRP by Seta – Level Design – This video actually came out while I was midway through writing this article – It’s full of useful tips to make your scene look immersive rather than just backlit.
Creating the cliff
Before we even consider creating our falls, we need to make the terrain convincing. First, create the basic shape with whatever terrain tools you like. You probably want to make it rugged enough that your fall will have some cascades. It’s less common to see completely straight drops like Millaa Millaa Falls and arguably harder to get a convincing result in a game.
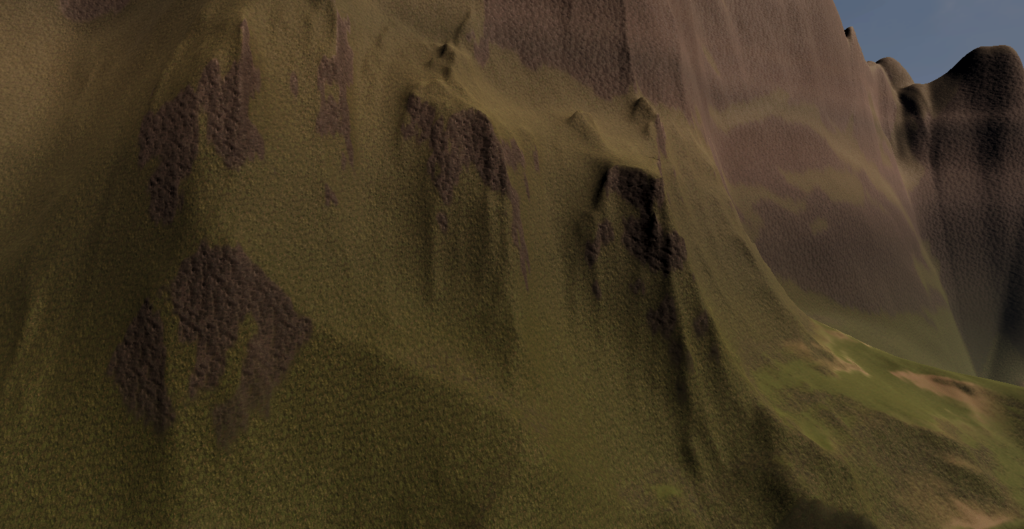
Once you have the terrain ready, it’s time to add your large rocks and cliffs. At this point, it’s a really good idea to go and check out Seta’s videos first. If you are impatient to get started, Seta still had these key tips to offer in the comments on his video:
Try to use the same color rocks, because in the package from Nature [Manufacture] there are usually various types of rocks (calcium, sulfur etc.) for this if you are already increasing the rocks, remember to do it only with those in which textures are high resolution, and as standard, the biggest ones go backwards , medium to the center and bottom, and the smallest to the very bottom
Seta – Level Design
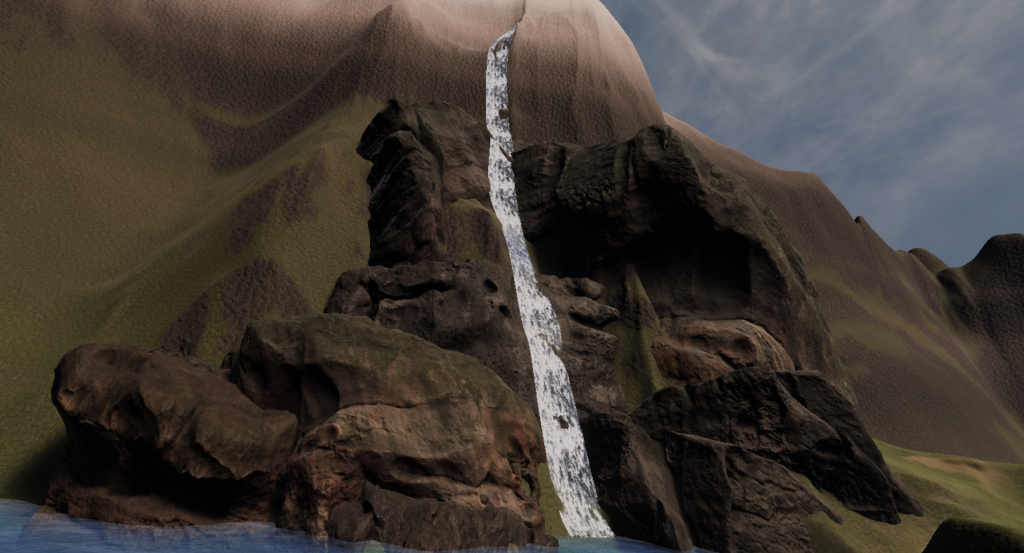
Make sure to add a few rocks with mossy cover for a more natural look (but not all of them). The Nature Manufacture rocks allow you to tint the moss cover separately from the main rock texture too, which helps enormously with blending into the terrain.
Improving the cliff
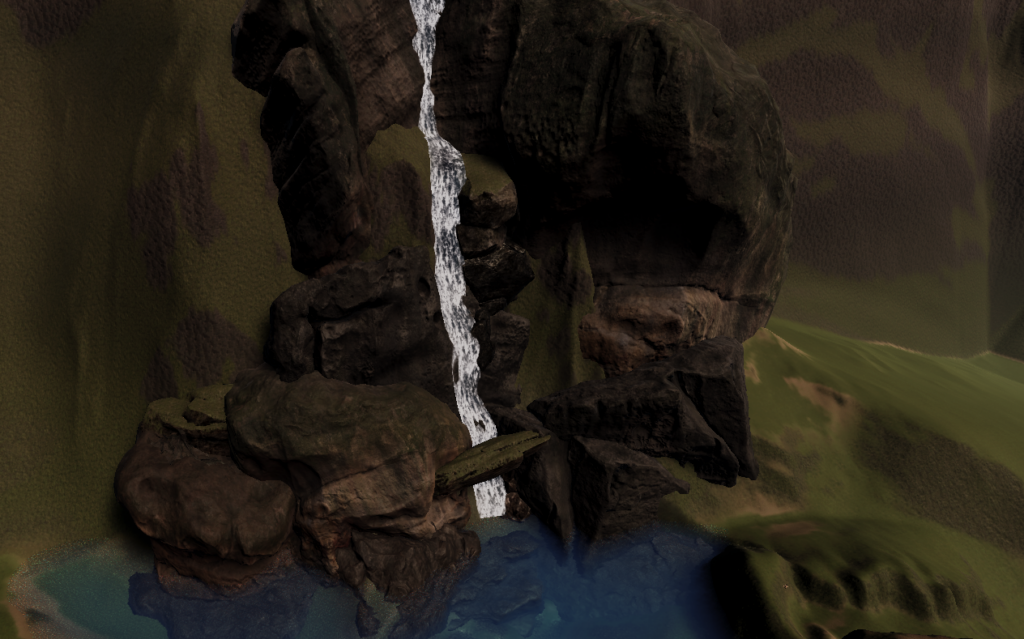
Once you’re happy with the basic look, we can improve upon it with additional details. You should add gravel at the base of cliffs – either with prefabs or by doing terrain layer painting.
Add some large mossy rocks and stumps on the shores and standing below cliffs (but not connected as part of the cliff) – it would not look natural for a cliff to never have lost some loose rocks. For this part, the Forest Environment rocks of Advanced rocks will fit better than the Mountain environment ones.
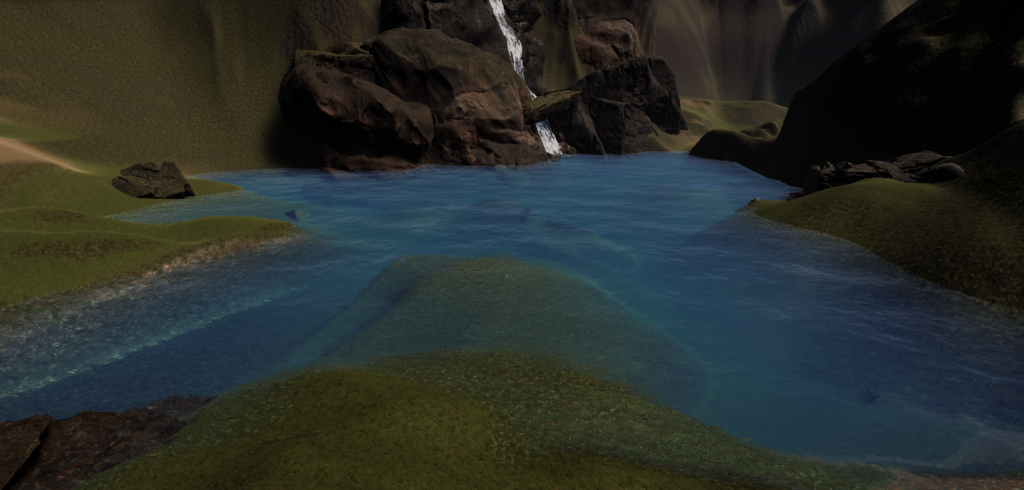
Don’t forget to use some matching rocks on the ground on the other sides of the lake too.
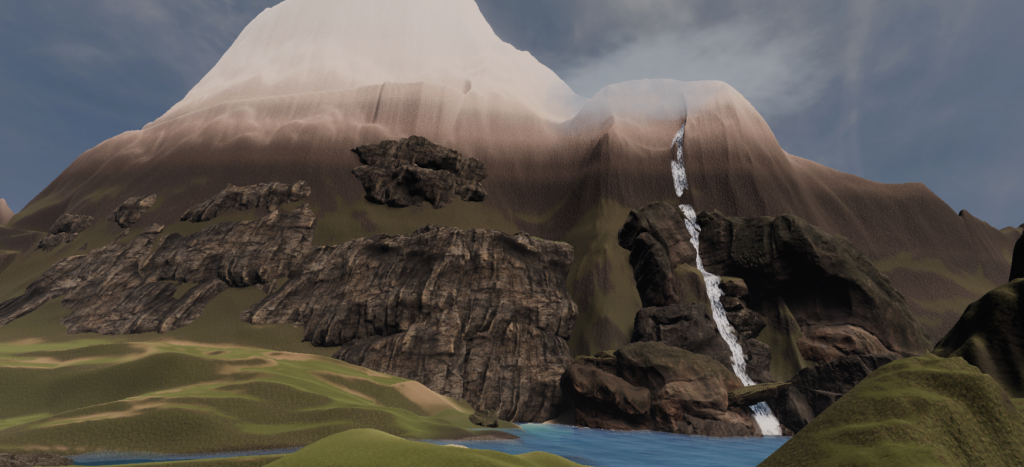
If your waterfall is only part of the scene and you have a long mountain range (like we do), it’s a good idea to blend cliffs in other places too – this stops the rocks of the waterfall from standing out uncomfortably.
The falls themselves
You need to start by creating and positioning your river spline if you haven’t already done this. For now, don’t worry if there are parts which are not flush to the terrain and let you see from the side, because once the spline is positioned, you hide the 2-dimensional sides by adding smaller, mossy rocks.
Make the rocks intersect with the large rocks from earlier so they form one big cliff and don’t look like they are hanging in the air.
Bring the waterfall to life using particle effects
To make the water look less flat start by adding spray – do this near the bottom, near vertical bends and where rocks intersect the stream. From the NM sets you’ll want to use the waterfall_top and waterfall_top2 prefabs for this. If you overlap both, you’ll get a strong effect.
You can scale the particle prefabs, but I recommend not going past 2x scale since the thing that makes these prefabs look good is the tightly packed effects. If you have a wide fall, you can use the same prefab in a row without visible tiling.
To add more depth to other stretches of the fall, use the Waterfall_Middle_Low_Slope and Waterfall_Middle prefabs which have a gentler spray.
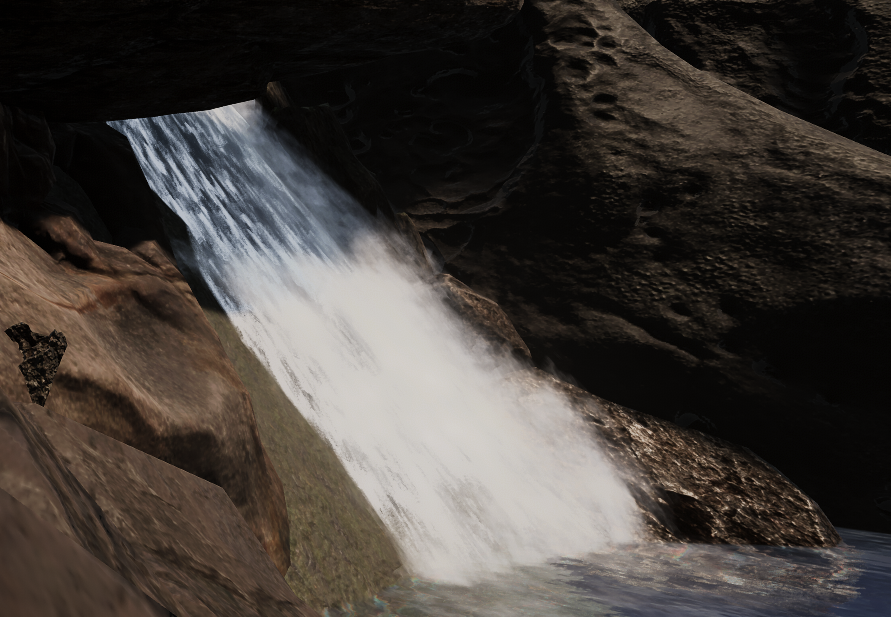
Bottom of waterfall particles
The bottom of the waterfall is particularly important if you have a 1st/3rd person character since it’s the part you’re likely to get closest to.
As the waterfall hits the ground/lake it needs to splash. If it is landing directly into another water source, it needs to merge in, which can be achieved by lowering the alpha with the vertex painter on the RAM spline.
The additional ‘splashiness’ at the foot of the waterfall can be created with additional instances of the Waterfall_top prefab. If you have an underwater volume like I do with Crest, you’ll want to make sure that prefab also extends below the surface, since the force of the water landing into the lake should create movement.
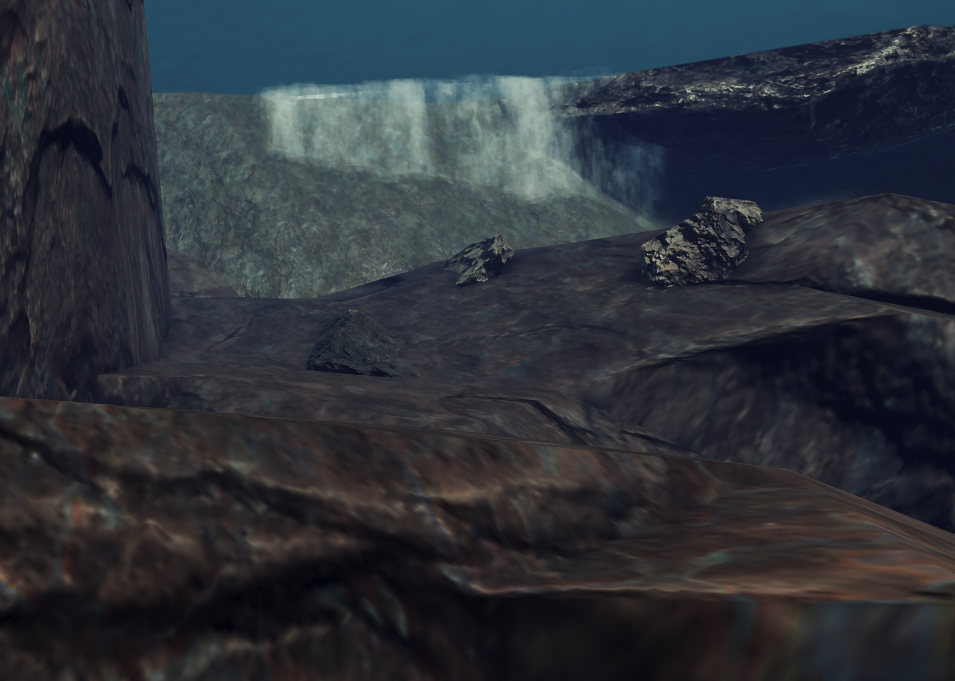
A waterfall does not splash neatly into one column. Ripples big and small will occur as the water sprays. RAM provides Waterfall_bottom as a surface mist, so start by adding that.
There is also a Waterfall_noise prefab that does a good job of emulating large splashes (vs the mists we have used so far). This can work anywhere rock intersects water but especially helps add depth to the foot of the waterfall. One thing to note though is that the ‘noise’ particles are not visible from all sides.
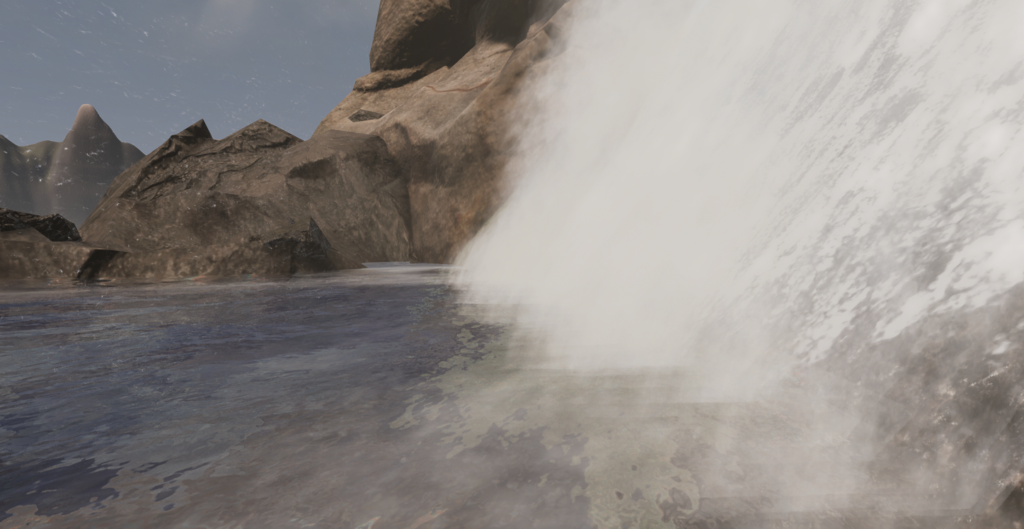
Clouds form
Strong waterfalls, sometimes form clouds at the tops of drops. They can also be visible at the sides of waterfalls on some stretches – for these areas, RAM has the Waterfall_clouds prefab. If you have a waterfall on a high, snow-peaked mountain, you can expect localized clouds towards the peak too for this – the Prefab_particle_cloud_01 from the Mountain Environment pack is good.
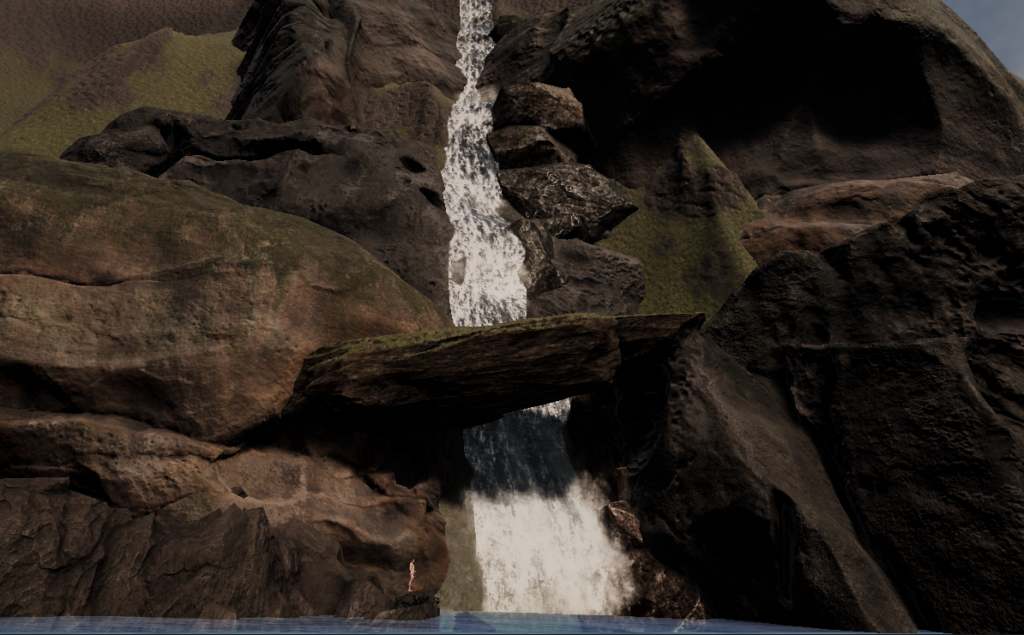
Lake at the foot of the waterfall
We should also add movement and detail to the lake under the waterfall. This means waves, foam, and collisions with rocks.
Since I’m using Crest, I need to set a lot of this up myself – starting with A Crest Spline with a Blended Shape FFT. If you’re using a RAM lake spline, you’ll get most of what you need by default, but you can watch Seta’s video for hints and settings which look good, like altering the alpha power.
The edges of the lake should have some foam and movement at the edges and around rocks since the standing water is being chopped up by the waterfall all the time. Foam is built into the RAM lake spline and in Crest, you configure the foam yourself.
If Crest is not showing foam as you expect, make sure your depth cache height is covering it. You’ll know your depth caches and foam configuration are working if you’re seeing foam on the ocean coasts
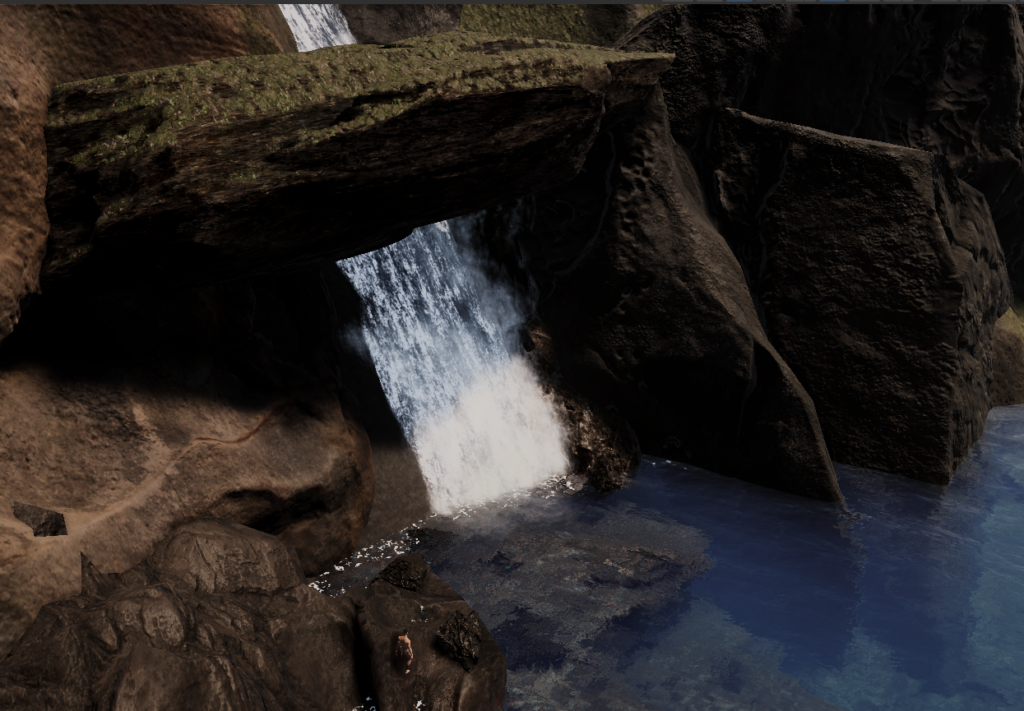
If you didn’t already add some earlier, some flatbed rocks at the foot of the waterfall can improve the look of things if you’re not already happy with the appearance at this point. If you do have bedrock or raised terrain at the base, then adding some plant debris makes sense. Broken branches or fallen trees often catch in such places.
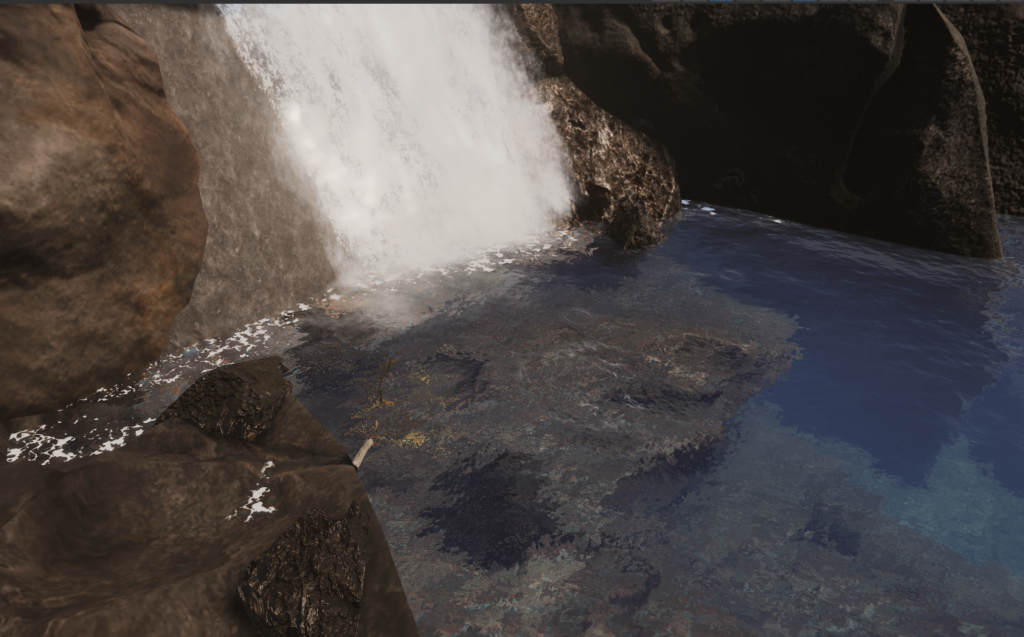
Adding Foliage
I start by adding trees around the lake and on the mountain slopes (we are going to be working backward from the largest objects). Then I add bushes at the base of trees and then smaller objects like grasses and flowers.
I finish by adding reeds and rushes around the waterline where you would expect to find them.
If you have a drier biome, you’ll probably want to add some gravel patches and dead grass, but we didn’t need this.
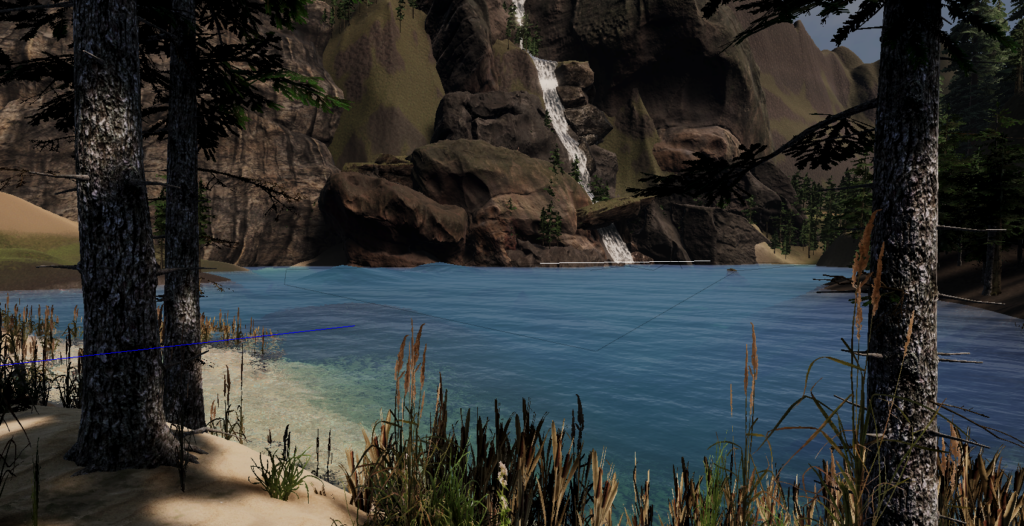
Ferns are somewhat ubiquitous in all kinds of biomes so they make a good addition on and around mossy rocks. I manually added ferns close to the bottom of the falls, as Seta does in the Speed level designs.
Since I’ve made a rock bridge, I also added some hanging vines – I’m not certain they belong in this setting, but I like how they look. I also added some floating plants on the water’s surface, since it’s a large area.
For any plants intersecting the moving water, you’ll want to add additional spray.
Quality Improvements
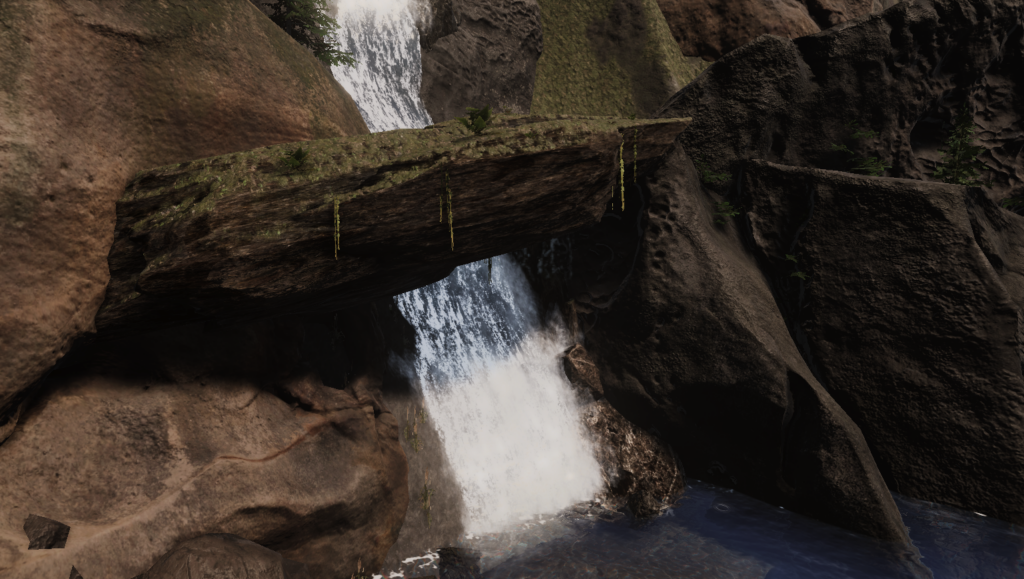
By now we’ve gotten all of our prefabs in place and are quite happy with the appearance, all that is left to improve the quality is effects and post-processing. Now is a perfect time to watch the reflection probes and lighting videos I linked to above – I won’t list each individual change we made here since the videos can walk you through it (and I applied many of the settings to Enviro) – but you can see the resulting improvement in the next image.
I also added some local volumetric fog with a slight green tint and some dust particle effects from the NM assets, to play off of the lighting changes.
Problem-Solving Blinking Light
Before I can show you the result, I want to address one other issue you may encounter when playing with the lighting – blinking light as you move. It seems it’s super easy to accidentally cause this in HDRP, but the fix is quite easy.
Here’s a quote from Discord, from somebody who knows all about scene lighting – the creator of the Enviro asset:
…you should take a look into your Unity shadow settings. Check your cascades and also make sure not to use too large shadow distance and a good resolution. That also will help to have better shadows that not flickering that bad
Hendrik Haupt
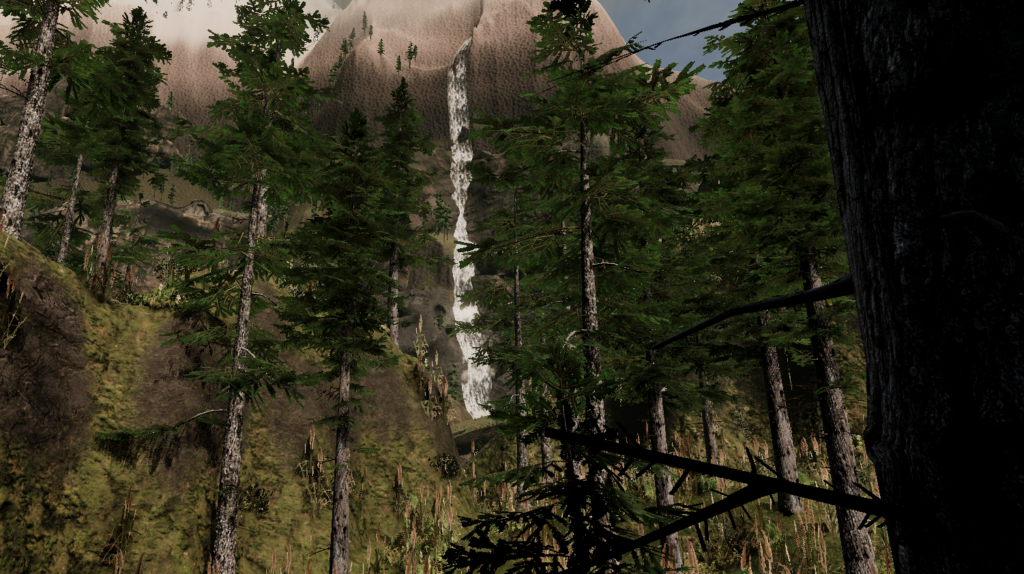
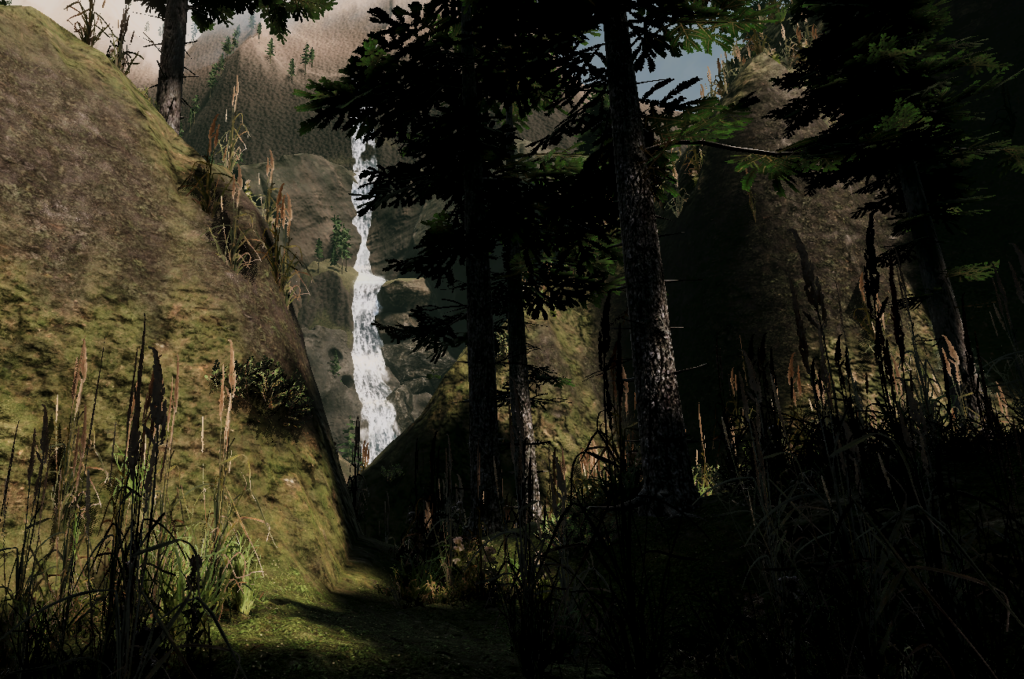
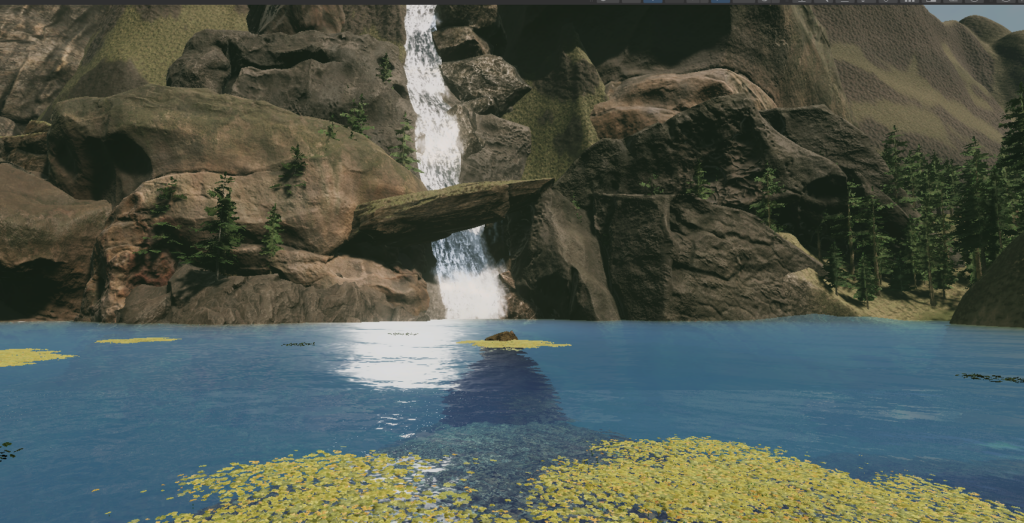
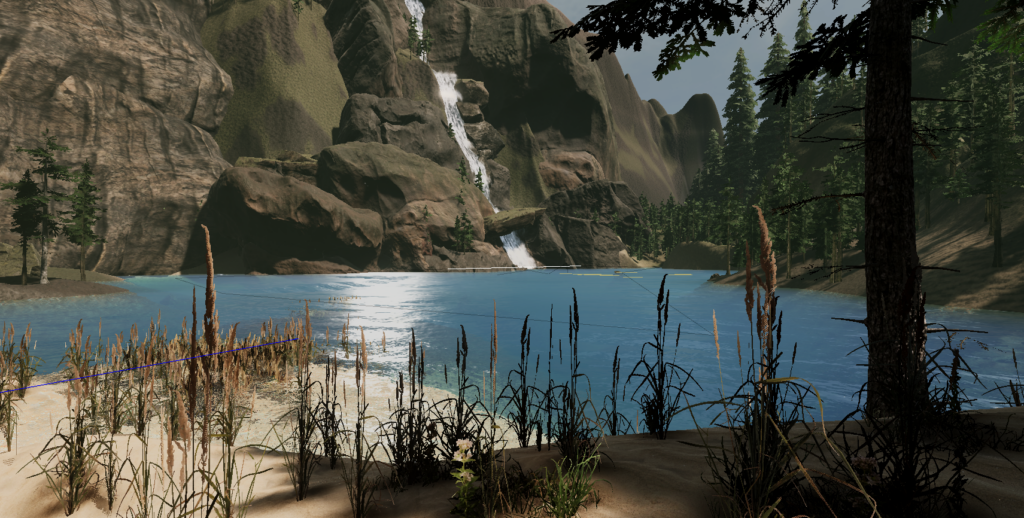
A useful parting tip about diffusion profiles: Unity is pretty stingy with how many diffusion profiles they let you use. If you have multiple assets you can quickly find yourself needing to use more profiles than allowed when creating a large world like we have – in those cases, there is a volume diffusion profile override which essentially sets up a diffusion profile to be used only within the volume – it’s a good idea to use the override for things you won’t be repeatedly needing.
Sound
The last thing you’ll need to make your scene pop is ambient sound. Unfortunately, we aren’t ready to share video yet to show you, but make sure not to forget sound in your own creations!

